Effective toothbrush handle design goes beyond aesthetics. It influences grip stability, brushing precision, and even how consistently users follow correct brushing practices. For OEMs and brands, handle design translates directly into performance metrics, QC requirements, and market differentiation.
This article walks through practical methods for designing toothbrush handles. It outlines the key manufacturing steps you’ll need to follow. It also emphasizes the importance of regulatory compliance and ergonomic considerations throughout the process. (You can explore our detailed toothbrush production workflow to understand the full process.)
Core Principles of Toothbrush Handle Design
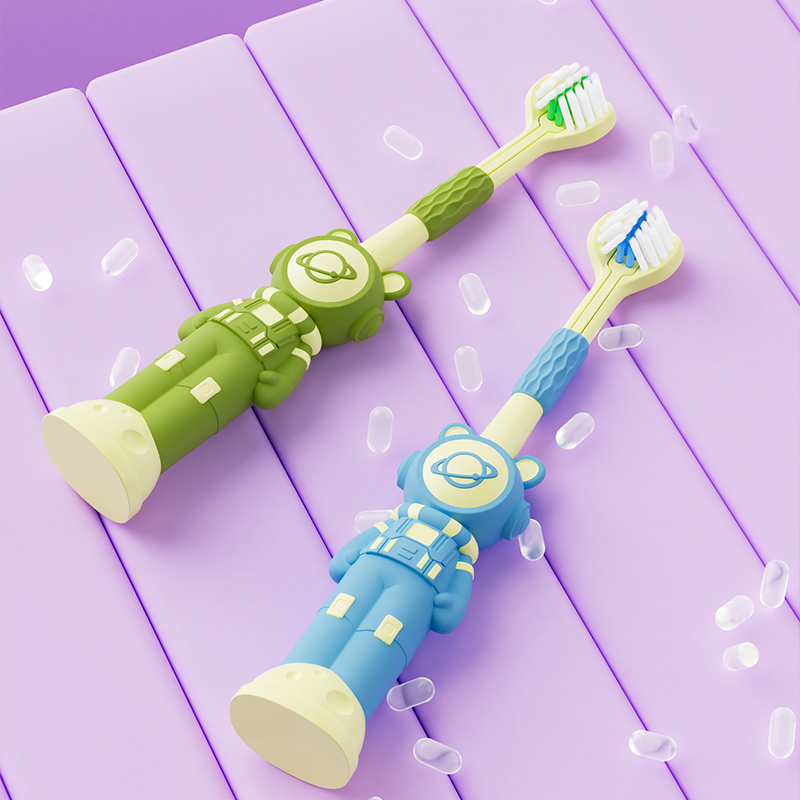
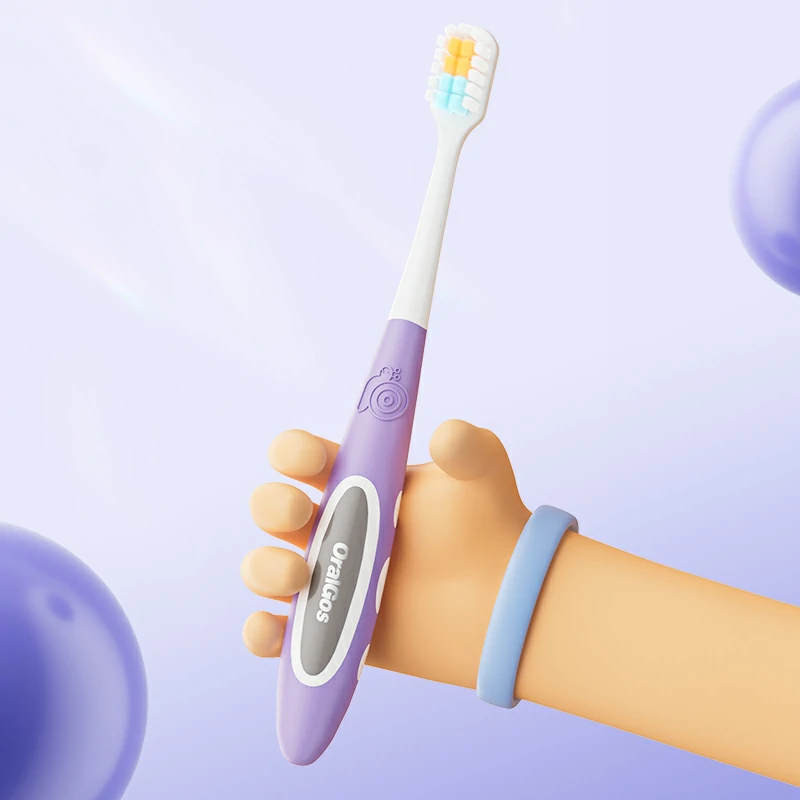
Begin each handle design project by first identifying the user profiles, such as adults, juniors, or toddlers. Next, identify the intended grip style for the user, such as palm, pen, or pinch grips. Finally, establish clear ergonomic goals for comfort and control.
Anthropometry-informed dimensions and contours reduce wrist strain and improve effectiveness. Recent ergonomic studies on handle geometry show that it can significantly influence brushing behaviour and comfort.
Key design principles:
- Grip zones and anti-slip textures (rubber over-molding or micro-texturing).
- Balance and mass distribution — heavy heads or long handles change leverage.
- Visual affordance — cues that invite correct orientation and brushing angle.
(Use the focus keyphrase naturally in copy: toothbrush handle design supports these goals by marrying form to function.)
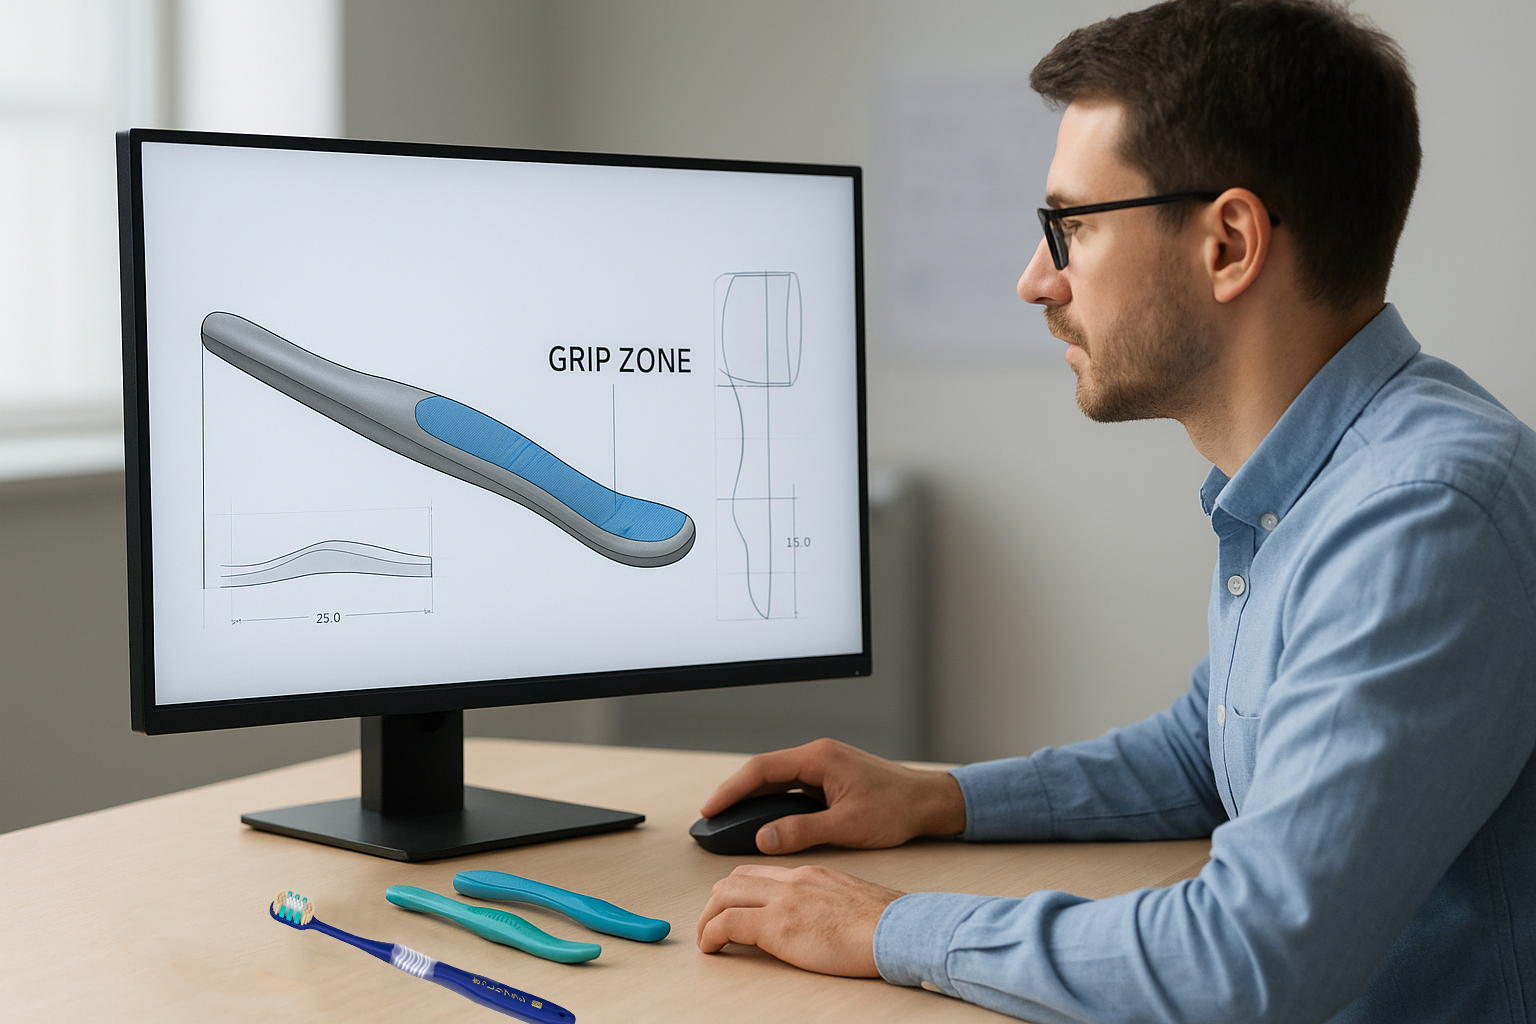
Translating Ergonomics into CAD — Practical Tips for Handle Geometry Design
When you move from sketch to CAD, run through quick checks:
- Create multiple cross-sections along the handle length to test thickness and thumb rests.
- Use parametric sketches so you can quickly scale for different hand sizes (adult vs child).
- Simulate grip envelopes in CAD to ensure clearance for common brushing angles.
Embed the toothbrush handle design key features into parametric models so tooling iterations are faster and less costly.
Prototyping Toothbrush Handles — From Rapid Mockups to Functional Prototypes
Rapid prototyping lets you validate ergonomics and assembly before tooling:
- 3D-print multiple shapes (SLA for fine detail, FDM for quick fit tests).
- Produce low-volume over-mold samples (silicone grips over a rigid core) to test tactile feedback. Commercial silicone handle options and suppliers can help with food-grade, hypoallergenic formulations.
- Run user tests: measure time-to-comfort, perceived slip, and brushing posture.
Early prototypes reduce downstream tooling rework — a modest upfront investment that delivers measurable savings during mass production.
Design for Manufacturing (DFM) Considerations in Toothbrush Handle Tooling
DFM prevents surprises when you scale:
- Draft angles, wall thickness uniformity, and ribbing for stiffness must be set in the CAD stage.
- Decide early whether to use an over-molding or insert-molding strategy. Over-molding works well for multi-material grips, while insert-molding is better suited for metal or weighted cores.
- Plan for gating and ejection in the mold to avoid sink marks or warpage.
Following ISO guidance on manual toothbrush physical properties helps align design and test methods with accepted standards.
Assembly, Inspection, and Quality Checkpoints for Handle Production
Typical production steps after molding:
- Trimming and deflashing of injection-molded parts.
- Incorporating soft-grip zones through over-molding or precision pad-application.
- Ultrasonic welding or adhesive bonding if the handle includes an internal weight or electronics (electric toothbrushes).
- Final inspection: dimensional checks, surface finish, and grip adhesion tests.
Document each QC step in your manufacturing protocol and include sample acceptance criteria. You can reference external ergonomic literature and lab studies to set pass/fail thresholds.
Packaging and User Instructions — Closing the Loop in Handle Design
Good packaging shows the handle’s ergonomic benefits (icons for grip style, age range), and a short guide improves first-time use. This small marketing and education move increases perceived value and reduces returns.
Next in the Series — Handle Materials and Their Impact on Design (Teaser)
We’ve intentionally left one important chapter for a follow-up. The upcoming article examines key handle materials, including ABS, PP, TPE, silicone, and emerging bio-based polymers. The discussion will cover their impact on durability, feel, recyclability, and manufacturing strategy.
Expect a dedicated deep-dive that compares various handle materials. The article further analyzes the lifecycle impacts associated with each material category. The article will also cover supplier considerations, completing the chain from design to the final product. (Spoiler: material choice can change tooling, over-mold strategy and even user perception.)
Closing — Designing Handles That Scale Across Product Lines
A systematic approach to toothbrush handle design starts with anthropometry and CAD, followed by prototyping, tooling, and quality control. This process not only creates a better product but also shortens the time-to-market.
If you’re planning a product line, start by designing the handle as part of a connected series. Include related elements such as head geometry, tufting, and packaging. This ensures that each chapter of the design process builds naturally on the previous one. Up next: a technical comparison of handle materials and their manufacturing trade-offs — stay tuned.