A water flosser is a great tool for keeping your teeth and gums clean. It easily blasts away food and plaque from hard-to-reach places. However, because these devices constantly handle water, they create a perfect storm for an unwelcome guest: mold. If you have recently noticed dark spots or a musty odor coming from your device, you are not alone. Finding mold in your water flosser tank is common. However, you must clean it right away to protect your health.
In this guide, we will show you exactly how to clean this buildup safely and stop it from coming back.
Why Mold Inside Water Flosser Tank Walls is a Real Health Risk
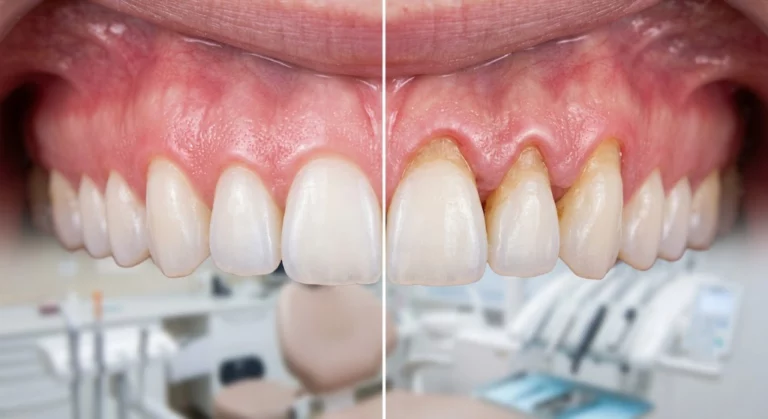
Bathrooms are warm and humid, and standing water makes things worse. This combo turns your oral irrigator into a perfect home for bacteria and fungi. When you leave water sitting in the reservoir for days at a time, a slimy layer known as biofilm begins to form. Eventually, this develops into visible mold.
If you use a dirty device, you blast mold spores directly into your mouth. This dirty water can even enter your gums and your bloodstream. According to the American Dental Association, dirty dental tools can cause infections. Keeping them clean is critical to protecting your whole body.
Your Step-by-Step Guide to Clean Mold Inside Water Flosser Tank Safely
When cleaning a moldy tank, you want something tough on mold but gentle on the plastic. You want to kill the mold completely without damaging the plastic or degrading the internal valves.
Here is the safest, most effective method to eliminate mold inside water flosser tank compartments using standard household ingredients.
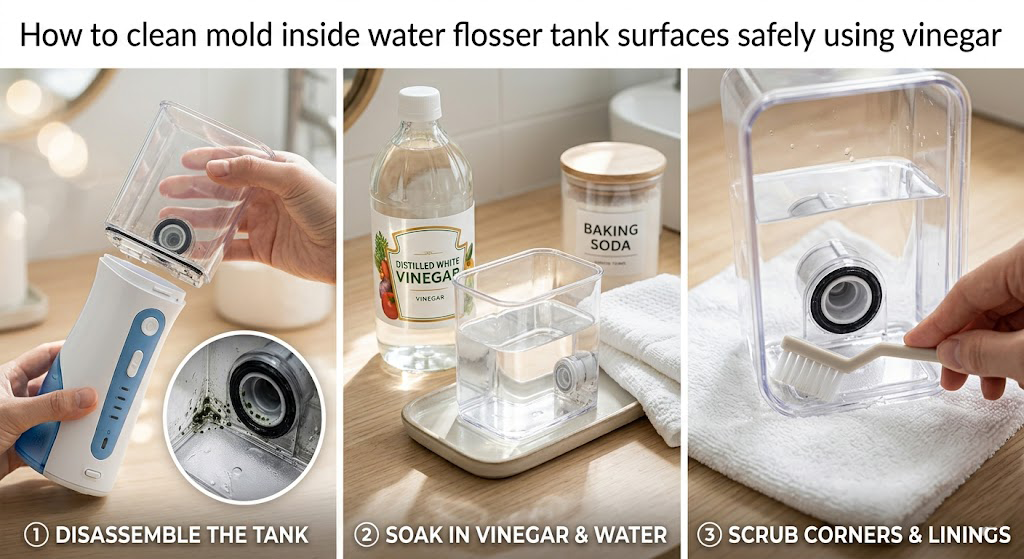
Step 1: Disassemble and Inspect the Water Tank
First, unplug your device (if it is a countertop model) or ensure your cordless unit is turned off. Remove the water reservoir completely from the base. Take off any detachable lids, valves, or rubber seals, as mold loves to hide in these tiny crevices.
Step 2: Kill the Biofilm with a Vinegar or Bleach Soak
You have two safe options for sanitizing the tank:
- The Vinegar Method (Recommended): Mix a solution of one part white vinegar to two parts warm water. Vinegar is a natural, non-toxic antimicrobial that safely kills up to 82% of mold species without degrading plastics. Fill the tank and let it soak for 30 to 45 minutes.
- The Diluted Bleach Method: For severe infestations, mix one teaspoon of household bleach with a full tank of warm water. Do not let it soak for more than 10 to 15 minutes, as prolonged exposure can damage the rubber valves.
Step 3: Scrub the Hidden Crevices Inside the Reservoir
After soaking, take a soft-bristled brush or a clean bottle brush and gently scrub the interior walls. Pay special attention to the bottom corners and the water valve. These are the exact spots where mold inside water flosser tank walls loves to hide.
Step 4: Flush and Sanitize the Internal System
Do not just clean the tank; the internal pump needs sanitizing too. Put the tank back and fill it with clean warm water(or a mild vinegar mix). Next, run the flosser until all the water drains out. Run one final cycle with pure, clean water to ensure no vinegar or bleach residue remains.
Step 5: Air Dry Every Component Completely
This is the most critical step. Wipe down all parts with a clean towel. Then, leave the tank detached and open to air dry in a breezy room.
Easy Habits to Stop Mold Growth in Your Flosser
Once your device is sparkling clean, you want to keep it that way. Add a few simple habits to your daily routine. This will ensure you never have to deal with a dirty tank again.
- Empty After Every Use: Never leave standing water in the reservoir overnight. Pour out any leftover water immediately after flossing.
- Leave the Tank Open: Between uses, leave the lid open or take the tank off the base. This allows airflow to dry out the interior.
- Weekly Deep Cleans: Once a week, run a mix of water and vinegar through your device. This keeps the mold away before it even starts!
Upgrade to a Self-Sanitizing Water Flosser to Save Time
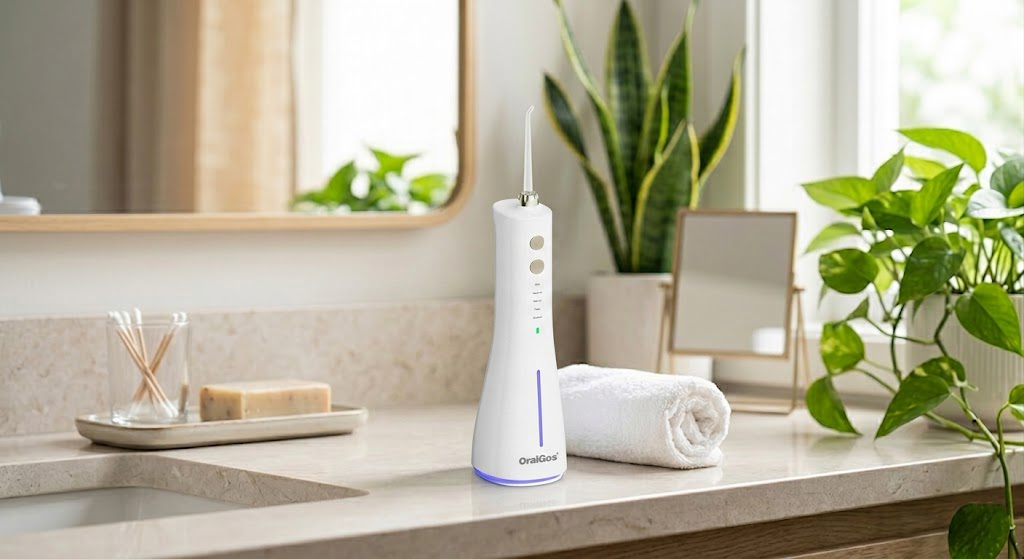
If you are tired of constantly scrubbing and worrying about hidden moisture, it might be time to upgrade your hardware. Luckily, newer water flossers can now do the dirty work for you.
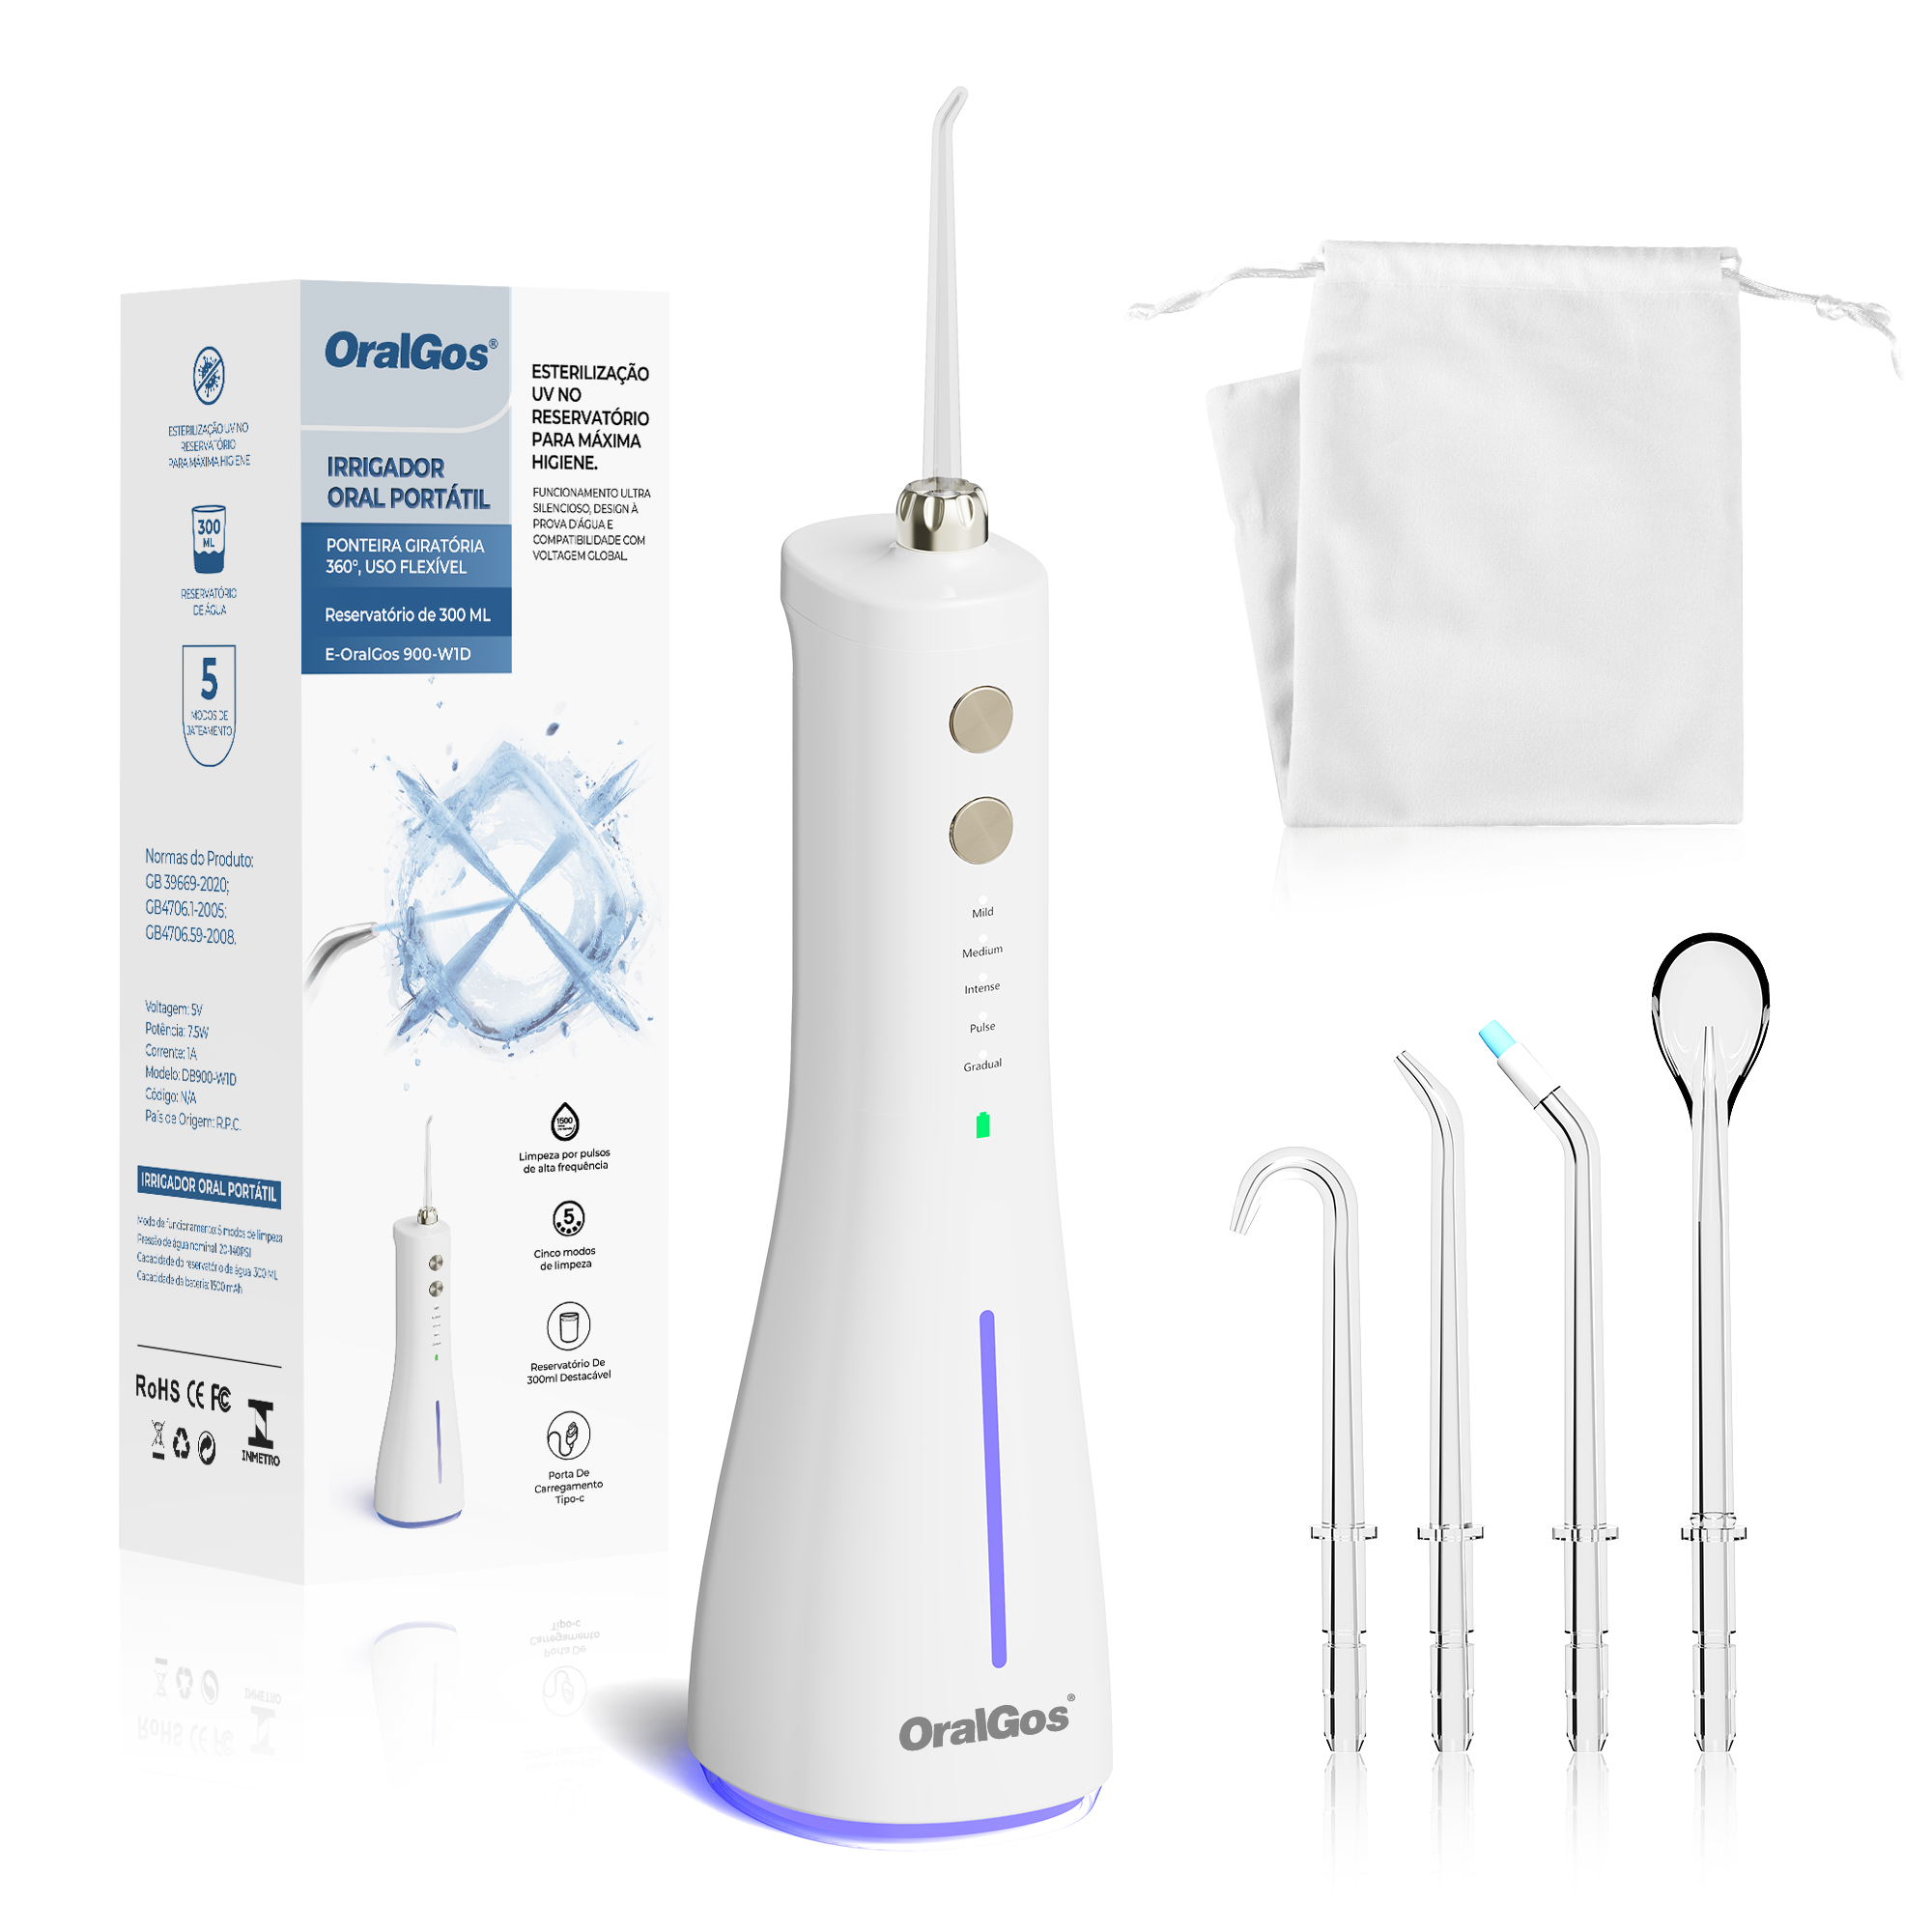
For instance, the Oralgos Portable Cordless Water Flosser features a built-in UVC light inside the tank. This smart system kills mold and bacteria automatically. The built-in tech kills mold and bacteria automatically. This means you get total peace of mind and can skip the harsh chemical soaking.
Keep Your Smile Safe and Mold-Free
A water flosser is an investment in your health, but it only works in your favor if it remains sanitary. Clean the mold inside water flosser tank walls using these safe steps. This simple routine protects your health and keeps your mouth fresh.
Clean your flosser regularly and keep it dry. You can also let UVC tech do the sanitizing work for you.